Pages

Monday, March 13, 2017

Label Making


How to make personalized stickers for everything in your house that needs a label.

What you'll need:
-Silhouette Cameo (or a nice friend with one)
-Silhouette sticky mat
-Oracle 651 permanent vinyl (you can buy sheets from Michael's or rolls from Amazon)
-clear contact paper ($1 per roll at Dollar Tree)
-scraper tool or old credit card
-tweezers

1. Design the label on the free Silhouette software.


2. Cut the vinyl out and peel it off of the Silhouette sticky mat. You can see some of the small pieces have shifted - in this case, it does not matter because those pieces are garbage.
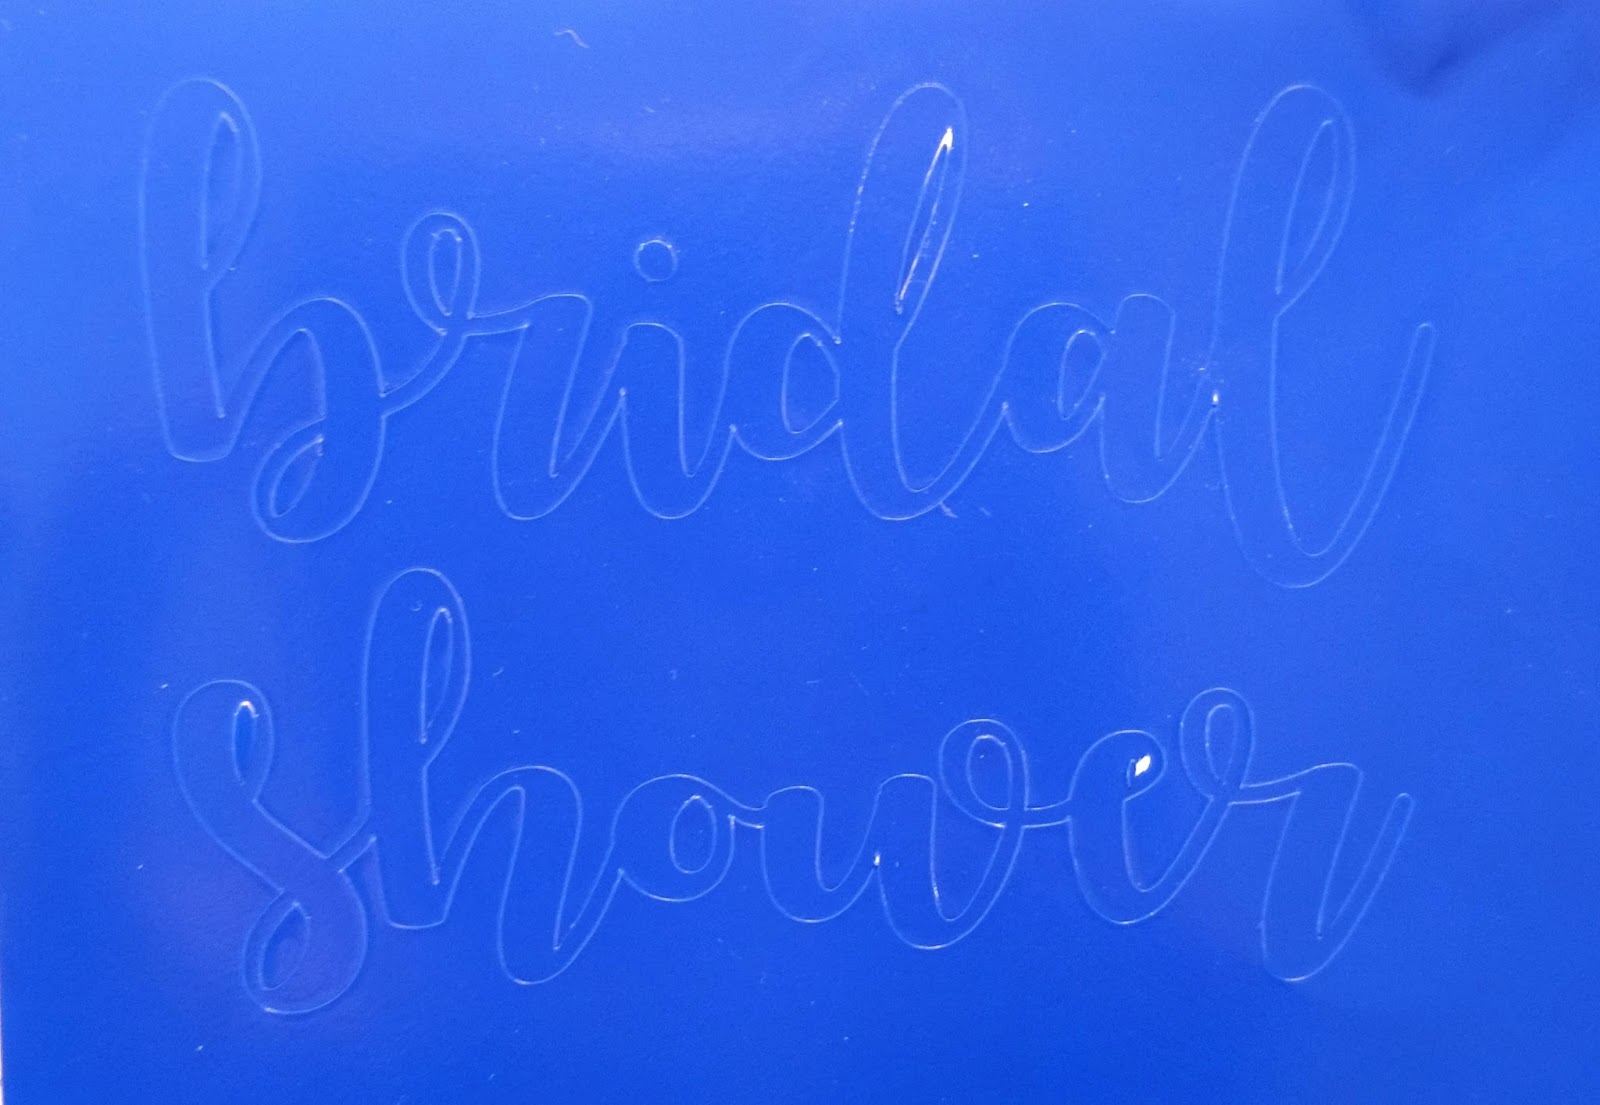

3. Take your tweezers and peel away the unwanted vinyl. This process is called weeding. Be sure to get the pieces on the inside of each letter. 


4. Take a piece of your contact paper and press it on top of the vinyl. I like to reuse my contact paper for a while - the decreased stickiness is actually very helpful. You want the contact paper to grab the vinyl, but not bond to it. Take your scraper tool and slowly press down on top of the entire design ensuring that the contact paper has stuck to the vinyl.
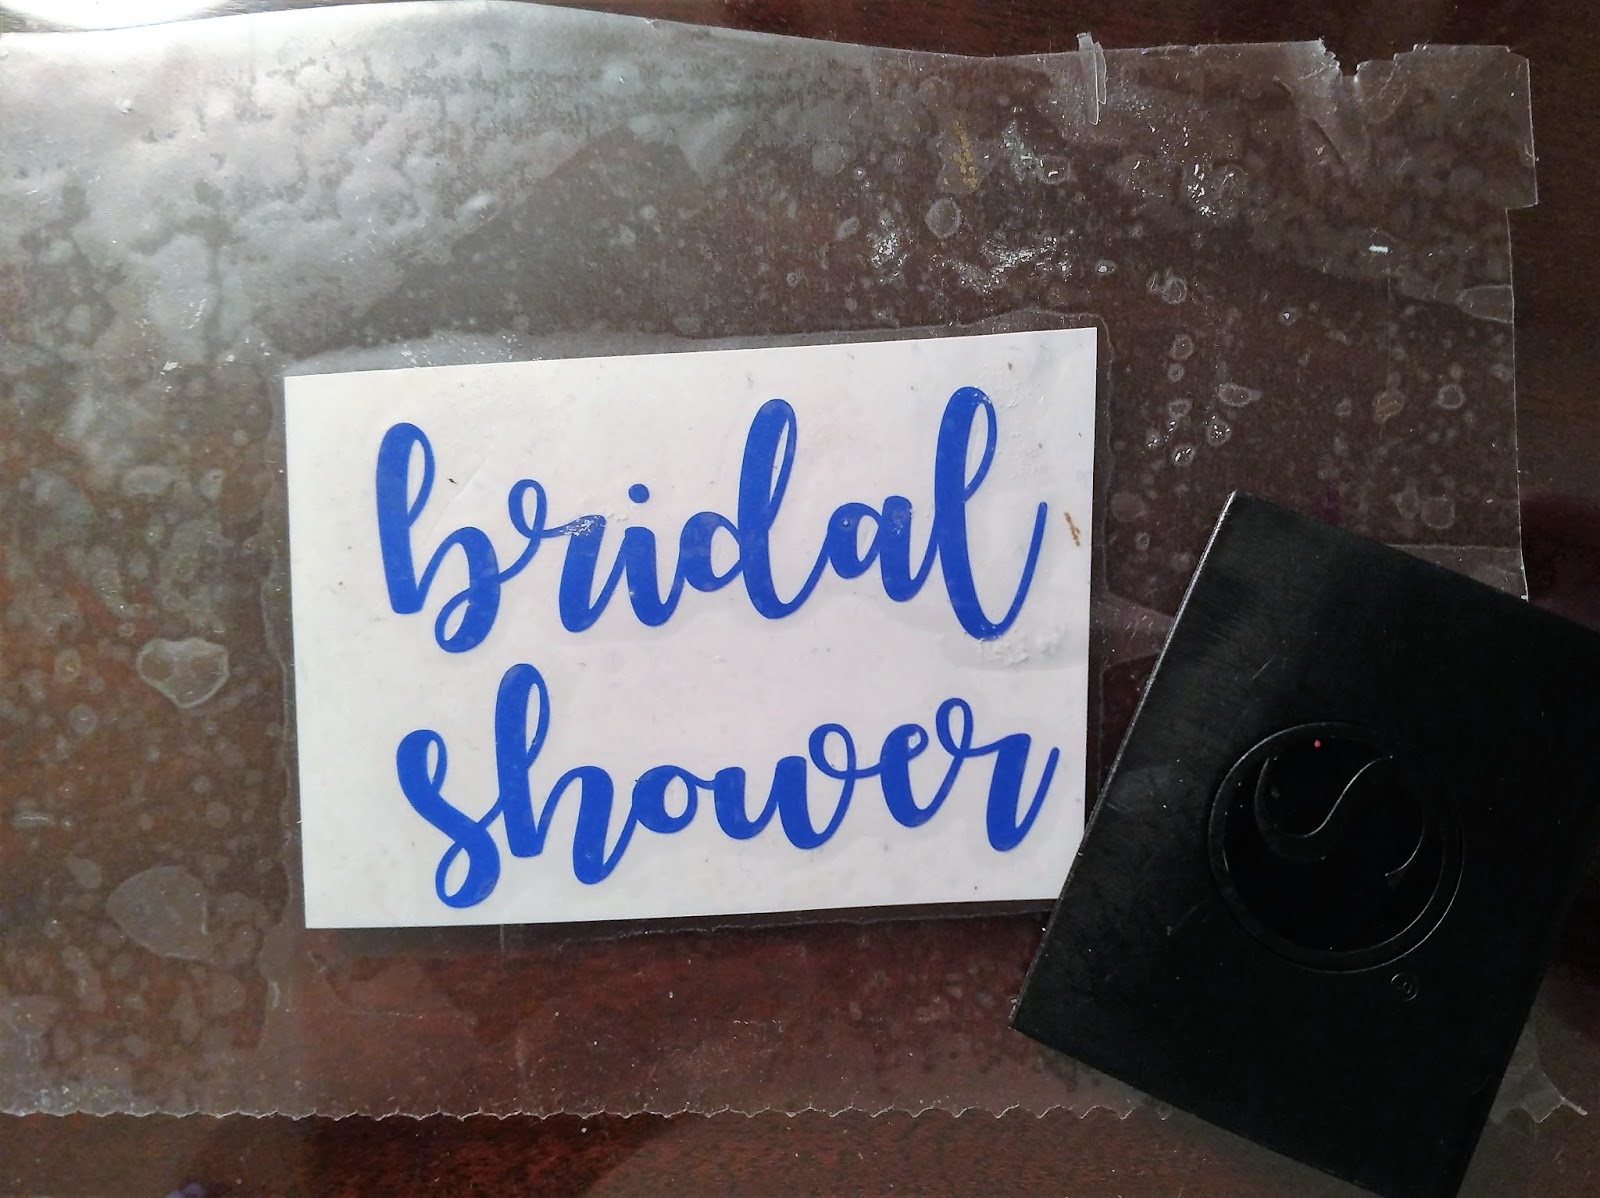

5. Flip your design over and peel off the Oracle sheeting (the white piece). Now you have exposed the sticky side of the vinyl. 


6. Now press your design on the surface you wish to label. In my case, I was adding this label to a Sterilite box full of decorations. **Do NOT remove the contact paper yet!**

7. Using your scraper tool again, press down evenly over the surface of the vinyl label. You want to make sure that the vinyl is bonding with the surface of the box. 

8. When you're sure that the vinyl sticker has bonded, slowly peel off the contact paper. For extra insurance, you can heat the surface with a blow dryer or embossing heat gun. Be sure not to overheat the vinyl. 


And then I went a little wild with the label making... 


Saturday, June 28, 2014

taketwo: Laminate Filing Cabinet


I recently picked up this scary laminate filing cabinet from a Craigslist ad!
I had originally wanted a metal filing cabinet, but they are more expensive and this was the closest deal to my house. So I bought it for $10 (normal metal filing cabinets are $70+) and put it in my garage. I had no idea how to paint laminate. But I figured, eh it's 2014, surely there is some online tutorial that can show me how!


Materials:
-laminate furniture
-120 grit sand paper
-two cans of spray paint (primer+paint)
-one can of clear enamel gloss *don't skip this supply; the enamel creates a hard and durable top coat for the paint just like a clear coat of nail polish on a nail*
-damp cloths
-mask
-drill for removal of hardware
-cardboard / newspaper / drop cloth


step 1: Wipe off the surface of the laminate with a damp cloth and let dry.

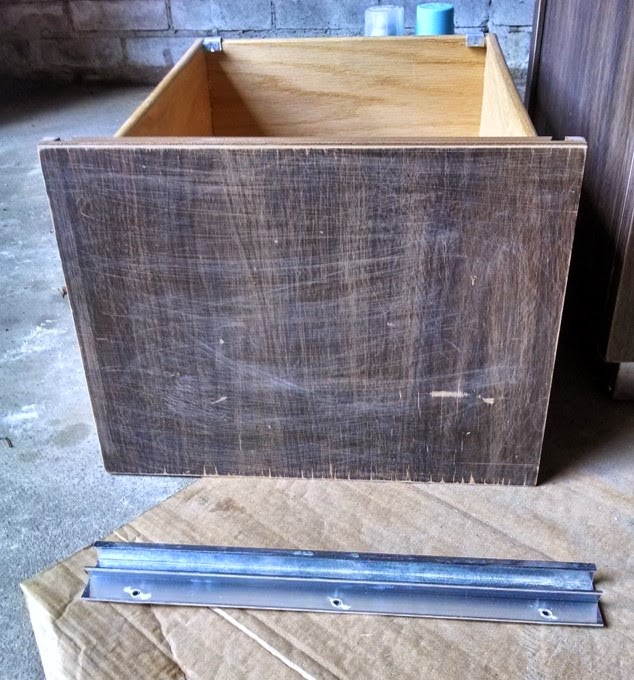
step 2: Take out drawers and remove hardware.


step 3: If you have a mask, put it on now. Gently sand the surface of the laminate. Since this is not real wood, going with the grain no longer applies. I chose 120 grit sand paper because it was fine enough to sand the laminate but not too rough that it left deep grooves.


step 4: Wipe off laminate "dust". Let dry and sand again. Repeat this step until you're satisfied with your sanding job. **note: if you do not sand enough in a location, the paint will not bond to the laminate. It's vital that you sand the laminate before paining.**

step 5: Put tape over silver key hole if you want that to stay silver. Now you're ready to paint! Lay cardboard beneath the piece of furniture and begin spraying your first coat. Depending on the temperature and humidity levels, you may see some of the paint running...don't worry! It will still look good!


step 6: Wait for cabinet to completely dry and sand any spots that show signs of running or bubbling. Wipe of dust and let dry. Now you're ready for the second coat of paint. Repeat this step until you're satisfied with your furniture.


step 7:  Let your furniture sit for 24 hours and then apply a clear coat of enamel. Let dry for another 24 hours.

step 8: If you have been painting in a humid climate, bring the dry furniture inside so it can dehumidify a bit before you use it.

step 9: Reapply hardware and put the drawers back in! And you're all done!


Leave a comment below if you have any questions! 
Thanks,
Rebekah

Wednesday, June 12, 2013

Thrifty Hi-Lo

Hi-lo skirts are really popular right now; not only are they funky and breezy, but they don't blow off of your legs when it's a windy day! The problem is that they aren't really a thing from the past, so Goodwill isn't going to have any $3 hi-lo skirts for ya. But they are a quicky to put together if you know what you're doing!

 You'll need:
-a longer skirt
-scissors
-pins
-iron
-sewing machine


1. Try on the skirt and figure out what length you want the front to be. Remember that you'll be hemming the edge, so allow for an inch or two of extra fabric.

2. Fold the skirt in half the "wrong" way, with the sides facing up and down. Lay your skirt out flat on a table or the floor.

3. Cut the skirt from the length you decided all the way to the back edge, making an arc. You can do one side at a time then copy the other side or you can cut through both layers in one swipe!

4. Surge the edges if you have a surger. Then iron a hem on the edge, folding up the desired length of fabric and creasing. When I did this originally I didn't think about the hem showing in the back because of the different lengths of the skirt. Be mindful of that! The hem on the back WILL show because it's longer! So make sure you fold it twice to get rid of a nasty edge :)


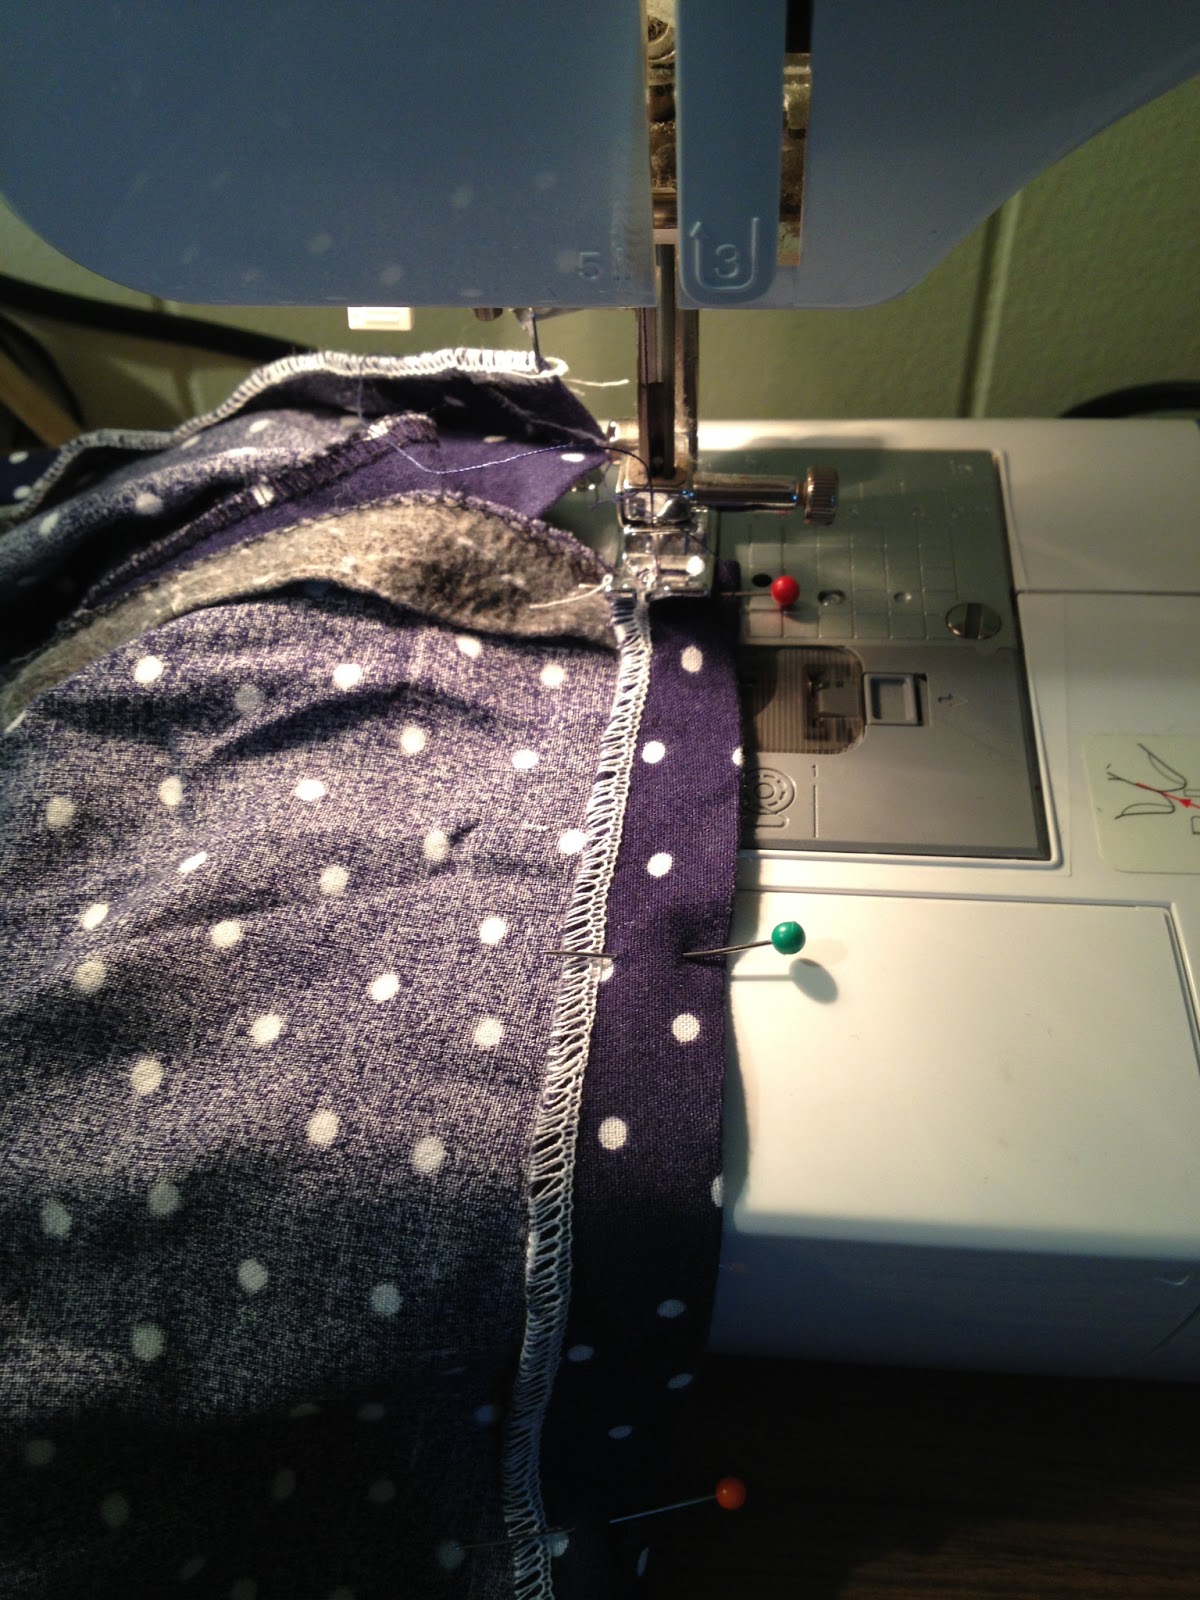
5. Pin the hem and then sew away! Because the fold is arced, it might require some inventive manipulation to get the desired look for the hem. You can do it! (This picture is before I decided to fold the hem again and sew to hide the surged edge.)

6. Iron out the skirt again, pressing the hem, and you're ready to go out!


Have fun,
Rebekah

Monday, April 1, 2013

Last Minute Easter Fun!

So today I decided that I wanted to make some thread eggs! I had seen a friend make some with fabric stiffener and the threads didn't all stay down! So I tried it out with my favorite craft supply ever: Mod Podge! Can't go wrong with it? Right? :)

So I went to the dollar store and got some cheap balloons and returned home to dig out my old embroidery thread boxes! I didn't have a lot of the exact same color, so I grouped them by colors that were similar!

Set up your area to work! I used a cookie sheet with wax paper to catch the glue drips!


1. I blew up some balloons to the size that I wanted my "eggs" and I went to town!


2. The trick is to get the thread wet with the Mod Podge so that it wraps around the balloon and stays. But you also don't want it so wet that as you're wrapping it, the thread is slinging Mod Podge everywhere!


3. So you get them all wrapped and then hang them somewhere so they can dry. I chose the light fixture in the kitchen. It's low and has prongs to easily hang string and balloons from!


4. Wait for the balloons to dry overnight and then pop the balloon and slowly peel the balloon out of the egg. Hopefully you took #2 to heart because the less Mod Podge there is between the strings (on the surface of the balloon) the less film there is left between the threads once you take the balloon out. Look at the picture. You see the filmy stuff that's reflecting light in between the threads? that's because I didn't know what I was doing and I put MP onto the ballon surface for a while. *BAD IDEA*

5. If you have a major egg decomposition and it turns into a kinda hard lump of embroidery thread...do not fear! It's easier than you think to fix! Take one of your unused balloons and put it down inside the crumpled egg..and blow up the balloon as hard as you can! Waaa laaa! Your egg is alive again!

6. Optional: I took my eggs outside and sprayed them with some Mod Podge Pearlized Glaze (it comes in a spray paint can) and it made my eggs look kinda sparkly and prettier, I think! :)


7. Try it out! It takes some time getting used to wrapping the wet string...and I would suggest going outside or in a garage to do this craft because it does sling some drops of glue everywhere... You can also make the balloons bigger/rounder. Experiment with different types of string. Embroidery thread took a while to wind because it's rather thin. But yarn wouldn't be as slow!

Have fun creating!
Rebekah


Saturday, December 8, 2012

DIY Leg Warmers


Love your new winter boots but wishing they were a little warmer (and cuter)? These leg warmers are disguised as socks to keep your feet warm but not too squashed in your boots!

Inspiration:

What you need:
-a sweater to cut up
-sharp scissors
-fabric glue or a surging machine
-a sewing machine or a needle and thread

Go to Goodwill and find yourself a cute sweater! I look for sweaters with interesting arm designs that would also look good as 'socks'. Make sure that you get a sweater that fits over your calf, or at least fits to mid calf, where ever you're planning on wearing it!


Lay the sweater flat and measure the length you want your socks to be! Cut straight across, making sure that your cut is always parallel with the edge of sleeve. (Or you can do what I did and cut with the pattern, but I eventually trimmed it to be straight.)


Try your leg warmers on. Chances are, they're not snug around your leg because one side is slanted out thanks to them originally being a sweater sleeve! Turn the leg warmer inside out and sew up the side with the seam, making another seam, farther in, so that the leg warmer is a perfect rectangle. (You can do this with a sewing machine or needle and thread. It will be much sturdier with a machine, but work with that you have!)


 Now onto the bottom edge! You can either surge the edge with a machine, blanket stitch the edge, use fabric glue to hold the sweater together, or you can tuck under and sew a seam in there. It really depends on the type of material the sweater is made out of. For something not very sturdy like a cotton sweater, I would surge it or tuck it under and sew. For a sweater of wool or other thick fibers, I would surge it, blanket stitch it, or glue it!


And now you have your easy, cheap, and hopefully cute leg warmer/socks!


Love, 
Rebekah

Sunday, September 16, 2012

DIY Fabric Coasters

Here's a quick and easy tutorial on making coasters out of fabric that you really like! And you don't need a lot of fabric for this to work!

Tools:
-at least a square foot of fabric
-sharp cutting shears
-Large crochet hook (I used size N)
-a little patch of felt
-needle and thread

Step 1:
Lay out the fabric and start cutting from one end to the other in small strips, but DON'T cut all the way down. Don't separate the strip from the body of the fabric. Just go down and leave about an inch of uncut fabric and turn back around and start cutting back. Do this so that the entire piece of fabric turns into long strip! If you're confused, refer to the picture, or comment and I can post a diagram.


Step 2:
Ball up the fabric strip! If you don't know how to ball yarn, now is the time to learn! Wrap a strip around your index finger and middle finger and make a little wad, then take it off of your fingers and wrap it perpendicularly, so that it looks like a little bow. Then just keep wrapping and making it look more and more circular! If my instructions have caused havoc, check out youtube for some tutorials!

Step 3:
Start crocheting! If you can't do this then you need to hit up your grandma or youtube again and watch some tutorials. It's so easy to crochet in a circle with some practice you'll be a pro! I personally crochet circles using the "magic circle" method. It works beautifully!

Step 4:
Make your coaster as big as you want then sew in the ends and grab that felt! Cut out a felt circle for the back that's a little smaller than the actual coaster.

Step 5:
Get your needle and thread out and sew the felt circle on! And you have your cute and easy coaster!


Love,
Rebekah